I started my tomato seedlings on Feb. 3, 2013. As you can see in the picture above I chose to use the standard 4 cell growing container that I salvaged from where I work part time. I also chose Jiffy Mix Seed Formula for the planting medium. It is best not to use any soil for starting the seeds. I have read the best way to be sure you are getting the right mix for seeds is to feel the weight of the bag. If the bag seems too light for its size it is probably the correct mix for seeds. It is also best not to have fertilizer in the mix. Before I planted the seeds I sterilized the pots with a mild bleach solution, added the dry mix and placed the pots in a standard black, plastic
tray. I filed the tray with water and let it sit
for a few hours or until all the water was absorbed into the pots. I added more water to be sure the pots were sufficiently wet, pouring off any extra water. At this point I planted the seeds at the recommended depth for the variety I was sowing. I planted the following varieties; Alaskan Fancy, Glacier and Golden Jubilee. All are heirloom. The first two are determinate and the last is indeterminate. I marked the pots with a code so I would know which is which!
At this point "all's ya need to do" is cover the tray with a plastic top and wait for the seeds to germinate. No light is required at this time but bottom heat is necessary. I place the tray above a heating pad. Note I did not set it directly on the pad but used two short pieces of 2x4's to raise the tray above the heat. You can purchase special heating pads for this part of the process but they are expensive. Regardless of what you use just remember water and electricity are not a good mix so be careful! I made sure the seeds stayed moist but not too wet. If you see a lot of moisture droplets on the cover lift it a bit until some of the moisture dissipates. Most of my seeds sprouted in 7 days.
Once the seeds start to sprout remove the cover and place the tray under a grow light of some sort. The light needs to be very, very close! See above picture. At this phase of growth you need to mist the seedlings once or twice a day, give them 17 hours of light and pass your hand lightly across the top of the plants. This "hand passing" helps to strengthen the plants. Some people will use a fan for this but I like the idea of "touching" the babies! Silly me.
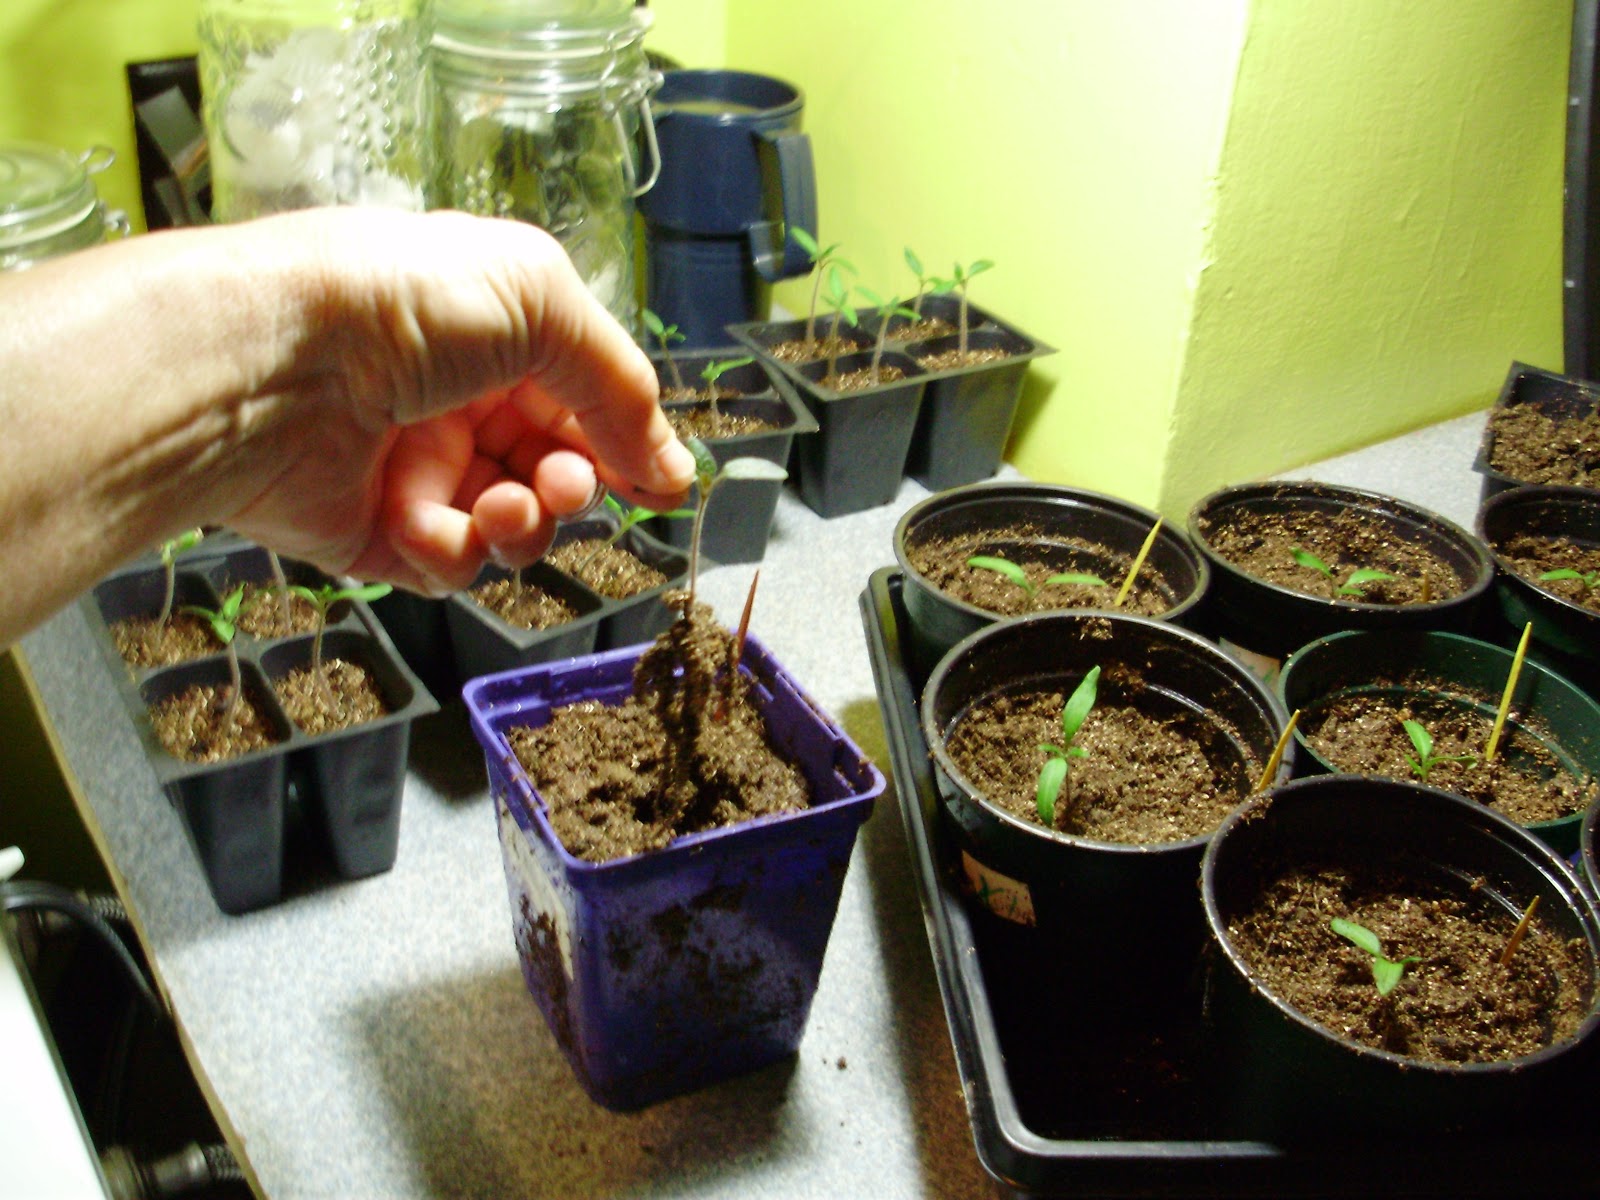
The first set of leaves is not actually leaves but part of the seed and is called 'cotyledon'. The purpose of this phase is to give the plant the nutrients it needs to continue to grow. Many of my seedlings now have their first set of true leaves so it is time to transplant them into a 4" pot. I plan to continue to use Jeffy Seed Mix for this phase and add fish emulsion for the nutrients they will need. I will post this phase at a latter date.
Let me take a moment to share about my top picture which is my very own "seedling hut"! I keep my house on the cool side so I must take precautions to keep my plants above 50 degrees and below 80. The high mark is not a problem for me but the low can be tricky. I used a second hand end table and drilled some holes to place my grow light pipe into so it would be secure. I then attached a cheap grow light to some chain and hung the light at the distance I needed. I used the 2x4's once again and set the tray upon them with the heating pad under neath. I then placed a towel over it all to keep the heat from "floating" away. The bottom line is with this contraption I am able to keep the plants at a
constant 68 degrees and in my house that is warm! When I get up in the AM the house is often any where from 55 (sometimes lower) to 59 degrees.
The journey continues!